You are looking : INFORMATION Cartoonize a Photo READ NOW
Link article : INFORMATION Cartoonize a Photo READ NOW
Article adobe photoshop, Article cartoon, Article cartoon effect., Article graphic design, Article pen tool, Article photoshop,
INFORMATION Cartoonize a Photo READ NOW

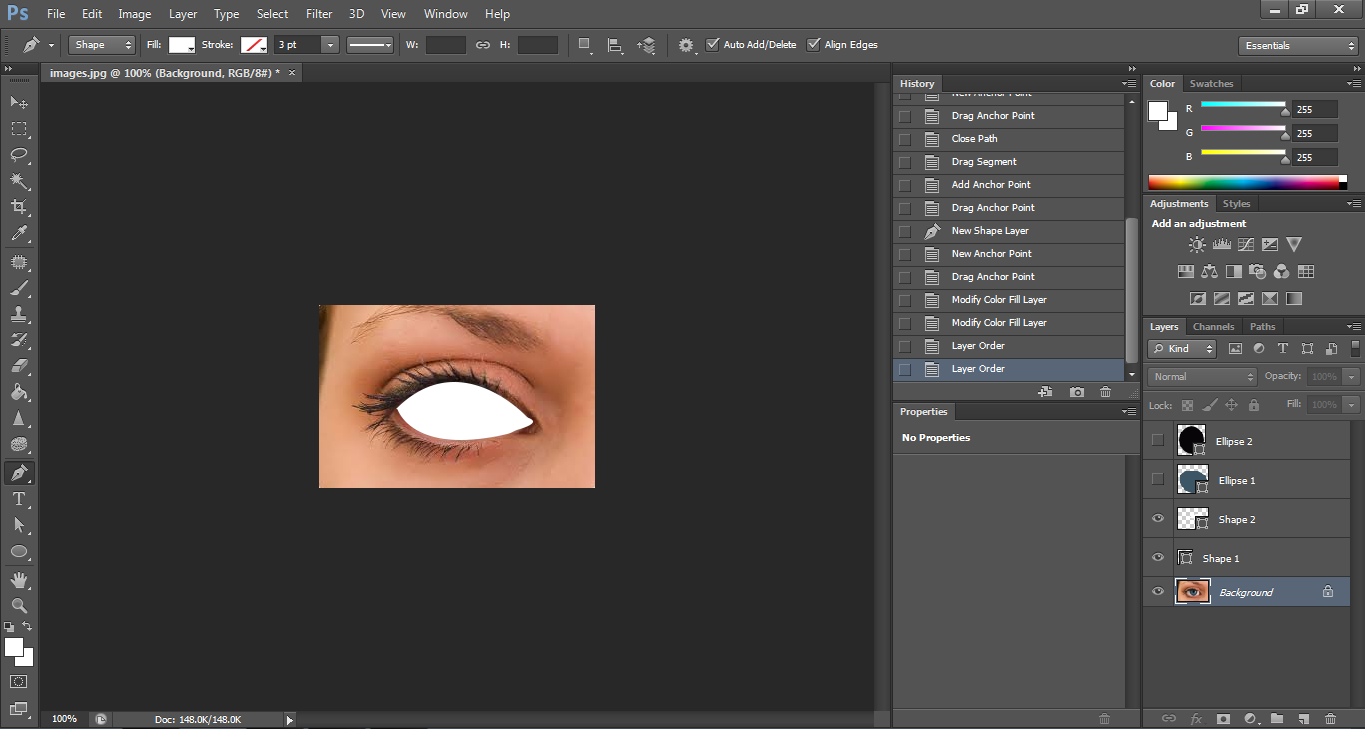
Start by opening the file you want to cartoonize in Photoshop. Equip the pen tool by pressing ''p''. Click where you would like to start off and then follow around the edges of the shape you want clicking to create new extra anchor points as you go. If you simply click you will create a straight line between points but if you click and hold your click and then drag you can create curved lines.
Don't worry if you don't get it exactly the way you wish you can press ''Ctrl+z'' or you can just go over it again when your finished by pressing ''Ctrl+right click'' or use the direct selection tool to move the anchor points around.
For simpler shapes such as circles you can just use the elliptical shape tool.

Once you come back around to where you began then hover over you're initial anchor point (you should see a little circle icon) and click. This will complete the shape and you will see it added to your layers.
To pick a colour for the shape you can simply double click on the shapes layer image. After you have double clicked this your colour window will appear. Down the bottom it says only web colours, if this is checked then uncheck it to get a wider range of colours to choose from. Once you select the colour you want you will see it on the shape.

Once you have created multiple layers you should rename each layer to a relevant name, eg. "left eye". This will make it much easier to manage the file as you will end up with a large volume of layers.

When you have created all the shapes you should turn off the background layer by clicking on the eye icon beside it. This will highlight any gaps between shapes that you can then fix. After all this is completed and perfected you should have your cartoon style image.

So information about INFORMATION Cartoonize a Photo READ NOW
Such articles that discuss INFORMATION Cartoonize a Photo READ NOW, may be useful to you in finding the inspiration to build houses.
You are reading arikel entitled INFORMATION Cartoonize a Photo READ NOW and link this article you can save http://homedesignminimalist1.blogspot.com/2016/01/information-cartoonize-photo-read-now.html Hopefully information about this is helpful for you.
Tag : adobe photoshop, cartoon, cartoon effect., graphic design, pen tool, photoshop,
0 Response to "INFORMATION Cartoonize a Photo READ NOW"
Posting Komentar